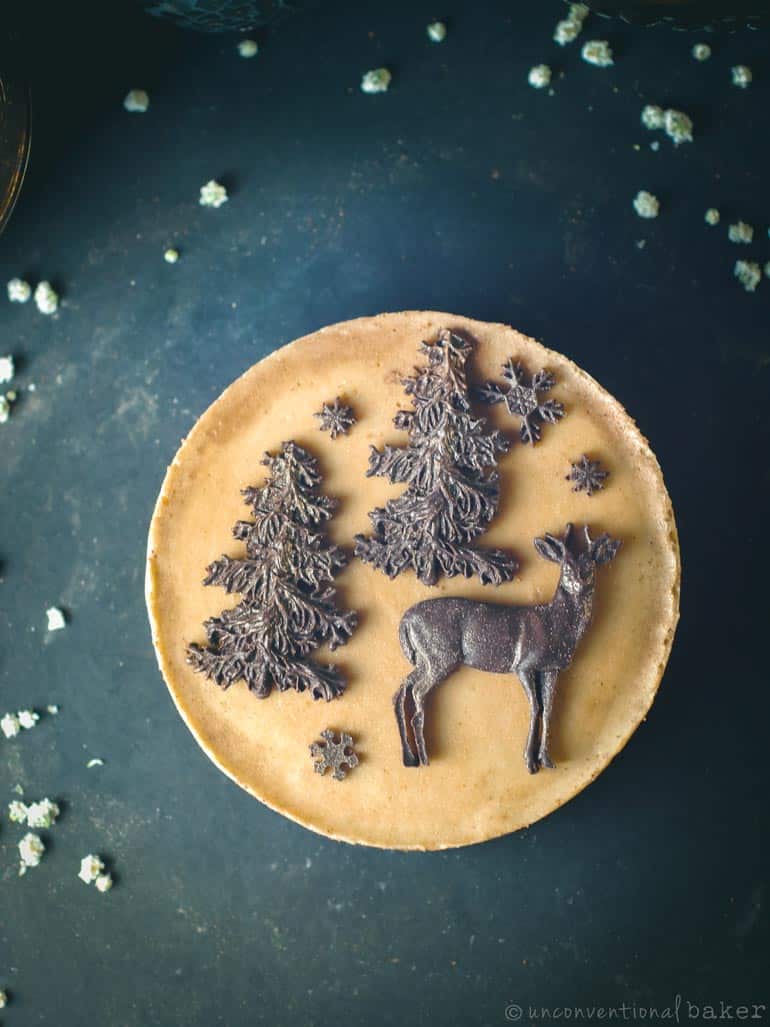
'Tis the season for all things cozy and warmly spiced... so I couldn't resist making this cake with a nutty (walnut-y, to be precise) gingerbread-flavored crust and a mellow creamy orange vegan cheesecake filling. Oh and some festive chocolates to round off the deal, especially since walnuts + orange + chocolate are a wonderful thing.


I initially thought to just drizzle some chocolate on the cake, or maybe sprinkle the edges with some mini dark chocolate chips or chocolate shavings here. But then remembered this chocolate mold I had been wanting to use for something, so ended up going that route and melting some chocolate into a festive-looking mold...
Which made me wish the cake was bigger so I could sprinkle some more chocolate around the edges to "seal the deal" -- as it stands, that 5" diameter could only hold so much molded chocolate :) But it still ended up a pretty cute-looking little cake (and of course, delicious), so no complaints.


Using a Chocolate Mold to Create Cake Decorations
About that mold, this is the one I use. I first got it a while back hoping to make some pretty festive chocolates for gifting, but classic me -- didn't check the dimensions properly when ordering, and so didn't realize how small it would be... The chocolates it makes are tiny. But pretty.
If you are going the mold route, all I did was melt some raw vegan chocolate using the double boiler method. Placed the mold on a metal tray for stability (and to help the chocolate firm up faster), poured the melted chocolate in and skimmed excess chocolate off the mold. Then placed in the freezer to set for 10 minutes. You can also place in in the fridge to set overnight if you prefer. If you go the freezer route, don't leave the chocolate frozen too long -- just until it's fully firmed up (which takes about 10-20 minutes), as otherwise it can get all "frosty" when you go to thaw it out on the cake (by going from freezer to room temp too quickly).
Chocolate Mold Alternatives
If you wanted to keep things simple, just drizzle some melted chocolate on top. Or alternatively sprinkle some mini dark chocolate chips or chocolate shavings around the edges, and you'll be good to go. A fuss-free solution unless you're totally wanting the frosty winter forest theme :)

Decorating a Raw Cake with Natural Edible Glitter
I also dusted the cake (using a brush, while the cake was fully frozen) with some natural edible glitter dust -- the same sparkling dust used on these dragon eggs. I got it from The All Natural Face, a vegan cosmetics company that carries a line of fully edible shimmer dusts -- I got the Vanilla Sparkle kind.
The shimmer dust is very pretty and delicate in person, but hard to capture in a still photo. It's also of course totally non-essential. I think topping the cake with chocolate alone is lovely in itself.

Last but not least, this recipe is for a tiny 5″ cake tailored for a power blender with a narrow pitcher at the bottom, which can handle a smaller volume of ingredients really well (like an older tall profile Vitamix, which is what I use).
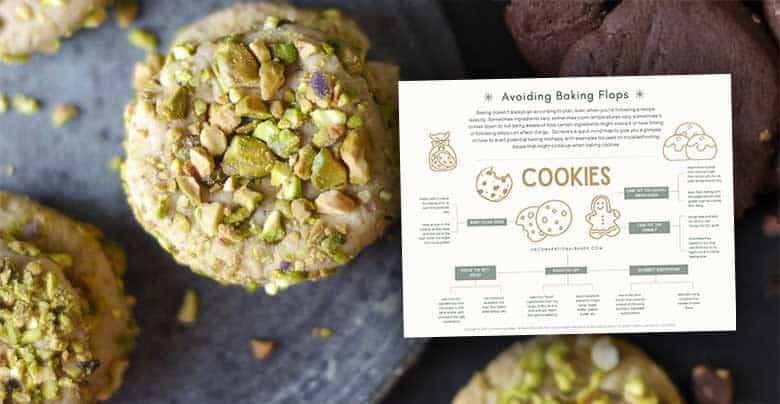
If you’re using a wide bottomed blender, you’ll need to at least triple the recipe for best results. See the downloadable cake conversion guide to help you figure out which pan size to use. In that case, you might be able to squeeze in that extra ring of chocolate around the top of the cake I mentioned earlier ;)
P.S. This recipe might hold the record for the number of footnotes used! :D
PrintVegan Orange Gingerbread Cheesecake
A nutty raw vegan cheesecake with a winter-spiced "gingerbread" crust and a mellow and creamy orange-flavored filling. Refined sugar-free and gluten-free.
- Prep Time: 30 minutes
- Total Time: 30 minutes
- Yield: 5" cake
- Category: cake
- Method: raw, no-bake
- Cuisine: vegan, dessert
Ingredients
Crust
- ½ cup walnuts
- 2 soft medjool dates, pitted
- ½ tbsp coconut oil
- 1 tsp blackstrap molasses (unsulphured)
- 1 tsp coconut sugar*
- ¼ tsp cinnamon
- 1/16 tsp of each of the following spices: cloves, allspice, nutmeg, ginger
Cheesecake Filling
- ½ cup raw cashews, pre-soaked and strained**
- 3 tbsp dark maple syrup***
- 3 tbsp unsweetened vanilla almond milk
- 2 tbsp coconut oil, softened or liquefied****
- 1 tsp pure vanilla extract
- 1 tsp orange extract
- ⅜ tsp salt
Optional Toppings
- 3-4 tablespoon melted vegan chocolate (I used a raw kind)*****
- natural edible glitter dust******
Instructions
1. Process all crust ingredients into a fine sticky crumble in a food processor. Transfer into a 5″ springform pan and press down into a flat crust along the base. Freeze while working on the next step.
2. Make sure all filling ingredients are at room temperature before getting started*******. Blend them all together into a completely smooth consistency in a power blender. Transfer this mixture into the prepared cake pan over the crust. Tap the pan down on the counter to smooth out the top, and even it out further with the back of a spoon as needed.
3. Freeze for 5-6 hours or overnight.
4. Once set, remove from the springform ring. Decorate with desired chocolate toppings and use brush to apply natural edible glitter dust on the cake and chocolates (if using). Thaw out lightly on the counter (5-10 minutes) and enjoy********
Notes
*Can use maple syrup if no coconut sugar on hand. I used it here because I liked the slight grittiness and crumb it added, but I wouldn't buy a whole bag of the sugar just for this recipe personally...
**To pre-soak nuts: place in a glass bowl, cover with water, and leave to soak for 4 hours (or overnight in the fridge). Then strain and discard the water. For a quick pre-soak, cover with boiled water and soak for 15 mins, then strain and discard water. (Note: this technique doesn’t preserve the nutrition of the recipe as well as the traditional soaking technique above). Additional Note: the purpose of soaking the nuts is to re-hydrate them and plump them up for blending into a smooth, cheesecake-like consistency. Proper soaking techniques also maximize nutrition and digestibility. If you’re interested in learning more about nut soaking and other dessert prep tips and tricks, I delve into these subjects in detail in my book Unconventional Treats.
***Maple syrup isn’t considered a raw sweetener, so if you wish to keep this recipe more fully raw, use a raw sweetener of your choice, like raw agave, etc.
****Use 3 tablespoon for a firmer cheesecake. I liked it better a little softer here with 2 tablespoon -- it thaws out faster and reaches a creamier consistency. But if it's super hot where you are, go for 3.
*****Since I made my chocolates for the topping in a form, I melted a bit of raw chocolate using the double boiler method, and added a tiny amount of cacao butter to it to thin it out a little more (I used about ½ a tbsp, though this addition is totally optional). See notes above the recipe for other alternatives if you don't wish to use a mold for the chocolates.
******See notes above recipe regarding the glitter dust I used here.
*******This is very important so that ingredients blend properly. If anything going into the blender is too cold it can make the mixture firm up prematurely. Conversely, you don’t want any of the ingredients to be hot either. Room temperature is just right.
********Storage notes: treat this cake like ice cream. Keep it cake frozen at all times until ready to eat, and freeze any leftovers. If left too long at room temperature it will begin to melt back into the consistency it was in the blender.


Sisse says
This cake sounds amazing - if I would use fresh orange juice and peel in sted of the orange extract - how much would you recommend?
Audrey says
Hi Sisse. Maybe a tsp? It's a small cake so you don't want to overwhelm it. You can start with a small amount and taste the filling in the blender once it's blended -- if you think it could use more orange peel, add more at that point. Enjoy! :)
Kiko says
This cake sounds amazing. I don't have a 5 inch mold. How can I convert this recipe to 6 inch mold cake? If you could give me an advice, it would be wonderful.
Thank you so much!
Kiko
Audrey says
Hi Kiko, happy to help -- there's a downloadable cake size conversion chart you can grab just below the recipe. Happy baking!
Marc Bell says
When it comes to cheesecake, resistance is futile.
Audrey says
Indeed! :)
Janel says
Excited to test this one out! Gingerbread and orange sound like the perfect marriage for a winter cheesecake and I'm smitten with that adorable mold. Thanks for another winner, Audrey!
Audrey says
Thanks Janel! I'm totally in full festive winter mode over here currently -- my absolute favorite season for baking :)