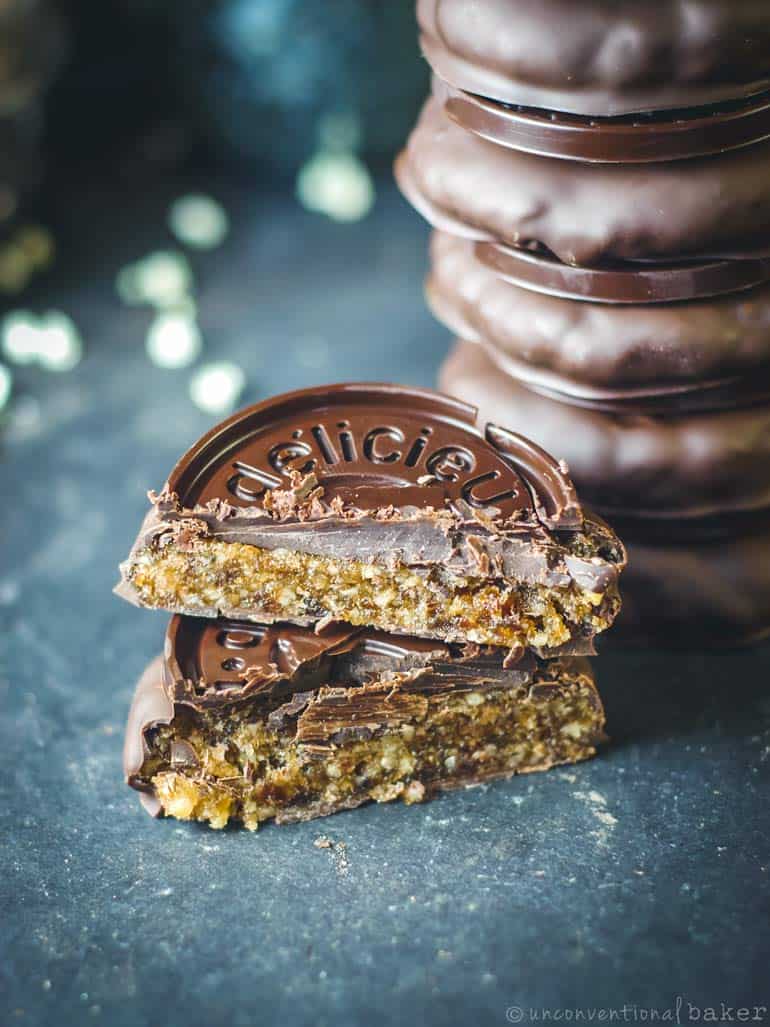
May I interest you in a delicious, chewy and nutty no-bake cookie, coated in some rich and creamy raw vegan chocolate, and decorated with some more crunchy / snappy beautifully molded chocolate on top? :)

These cookie-shaped treats are really mini wholesome (and alternative diet-friendly) candy bars in disguise. They're vegan, gluten-free, grain-free, largely fruit-sweetened, and can be made nut-free (see recipe notes for that modification). And there's room for further customization:
- You can swap out the walnuts for another nut if you prefer. I recommend in that case going with softer nuts, like pecans. Or you can use sliced almonds (for which you'll only need a cup of them instead of the amount the recipe calls for). I used the base of this recipe for the cookie portion, so you can check it out for more tips, details, and ideas.
- You can play around with the flavorings. For example, I added some orange extract because I love chocolate + orange together. And cinnamon because it rounded things off nicely.
- For the chocolate here, I used a mix of Chocosol and Giddy Yo Yo Chocolate Vanilla raw chocolate bars, but you can use whatever dark chocolate you prefer (raw or not).

The molded chocolate on top is of course optional. I had bought the molds to make these Petit Ecolier-Style shortbread cookies but felt like playing around with putting them to other uses -- may as well, right? :)
It obviously makes these "cookies" look more sophisticated + super giftable. But it also adds to the flavor / texture -- I really loved the crunchy and snappy quality it added, making these reminiscent of candy bars.
You can check out some suggestions for where to find these molds on the Petit Ecolier cookies page. This mold is close to the one I used in this recipe.

As with most recipes that call for coating things in chocolate, you'll have a tiny bit of chocolate left over at the end (since you need to melt more so that you have enough volume to be able to dunk the cookies in to coat them fully). You can make more molded chocolate with the leftovers if you like, or make some bark out of it. Or freeze it in a silicone liner for future use.

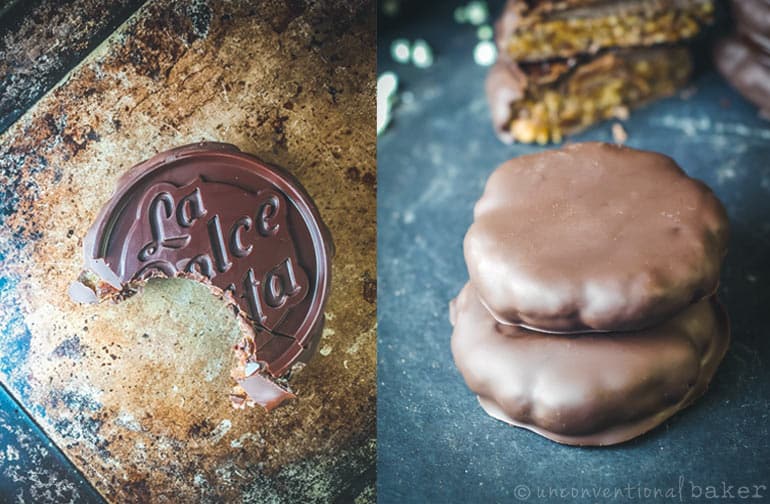
Last, but not least, just wanted to show you what these candy bars look like without that fancy mold in case you're wondering...:

No-Bake Candy Bar Cookies
A delicious chewy nutty no-bake cookie topped with rich and crunchy chocolate. Raw vegan, gluten-free, and refined sugar-free.
- Prep Time: 35 minutes
- Total Time: 35 minutes
- Yield: 6 cookies
- Category: Cookies, Chocolate
- Method: Raw, No-Bake
- Cuisine: Dessert, Vegan
Ingredients
Cookies:
- 1 ½ cups soft pitted honey dates*
- 1 ⅓ cup walnut halves**
- 1 tbsp water
- 1 tsp pure vanilla extract
- ⅛ tsp salt
- optional: 1 teaspoon orange extract
- optional: ¼ teaspoon cinnamon
Molded Chocolate:
- ½ cup chopped raw (or regular) vegan chocolate bar of your choice (or chocolate chips)
- optional: 1 tbsp cacao butter***
Chocolate Coating:
- 1 ⅓ cup chopped raw (or regular) vegan chocolate bar of your choice (or chocolate chips)
- optional: 2 tbsp cacao butter
Instructions
- COOKIES: Briefly process all cookie ingredients in a food processor until the mixture sticks together (I used the small bowl of my food processor for this recipe due to the smaller quantity of ingredients). Note: it’s important not to over-process the mixture so that it doesn’t turn into a paste. When it’s ready, you should be able to pick up some of the mixture and roll it into a ball or shape it into a shape with your hands. If it's too dry, add another tablespoon water.
- Divide the mixture evenly into 6 parts and lump into balls, then flatten into a disk between your palms and round off the edges with your fingers to even out the shape. You want them to be a bit wider than the diameter of the chocolate mold. Place on a parchment lined metal tray and freeze for 15 minutes.
- MOLDED CHOCOLATE: Melt chocolate in a double boiler, stirring it together every so often until it's completely melted and runny. Remove from heat. Place the silicone chocolate mold onto a small metal tray. Spoon the some of the chocolate into each mold and gently spread it around with the back of a spoon to fit into the grooves. Place the tray in the freezer for 10-15 minutes for the chocolate to set (should be firm to the touch). Once ready, pop it out carefully onto a parchment lined metal tray and keep refrigerated until ready to use.
- CHOCOLATE COATING: Add chocolate coating ingredients to the double boiler and melt the chocolate. Remove from heat.
- ASSEMBLY: Remove cookies from freezer (keep them on the cold parchment-lined metal tray). Have the molded chocolates close by on the counter. Set a cookie on the tines of a fork and briefly dunk in the melted chocolate mixture to coat, sliding the fork times over the edge of the bowl several times to get rid of excess chocolate. Place this cookie back on the parchment-lined metal tray. Repeat this process with 2 more cookies. Then carefully press a molded chocolate on top of each cookie. Then dunk the remaining 3 cookies in the chocolate mixture and top them with the molded chocolate.**** Place in the freezer for 10 minutes to fully set, then transfer the cookies into a glass container and store in the fridge. Enjoy!
Notes
*Honey dates have a particular sweet and slightly gritty texture to them, while still being soft and sticky, which is why I used them in this recipe. Other dates, like medjool, might be a bit too soft / pasty, or if too firm (like deglet nour), might not be sticky enough. If you use another kind of date you might therefore need to adjust the recipe slightly — i.e. if your mixture is too pasty / sticky, add more almonds or almond flour, or if too chunky and not moist enough add another tablespoon of water (or more as needed) to get to the right texture.
**For a nut-free alternative can use 1 cup of thick toasted coconut chips, like these instead.
***I used cacao butter for its lovely flavor here, and also to help thin out the chocolate a bit so it’s easier to pour into the mold. It is an optional ingredient however, and you can get by without it if you prefer. For this recipe here I used about 4 + 8 cacao butter wafers. If you’re using chunks of cacao butter, chop them up smaller so they melt faster into the chocolate.
****Note: I separated the process into 3 +3 cookies here because I found that if you first dunk all 6 cookies in the chocolate, by the time you're ready to top them off with the molded chocolate the initial chocolate coating can solidify which means the molded chocolate won't stick to it. If this happens to you at any stage, simply spread about ½ a teaspoon of the melted chocolate remaining from dunking on top of a cookie and cover with the molded chocolate.
P.S. If you're looking for other cookie recipes, check this collection of the best vegan & gluten-free cookies from the blog.


Sakshi Vejani says
These look divine! Going to try it out soon! Thanks a lot for sharing! :)))
Audrey says
You're welcome! :) Enjoy them.